Move over Dalgona Coffee, there’s a new drink in town and just in time for Fall! Get ready to make your own Pumpkin Cream Cold Brew (Starbucks edition).

Move over Dalgona Coffee, there’s a new drink in town and just in time for Fall! Get ready to make your own Pumpkin Cream Cold Brew (Starbucks edition).
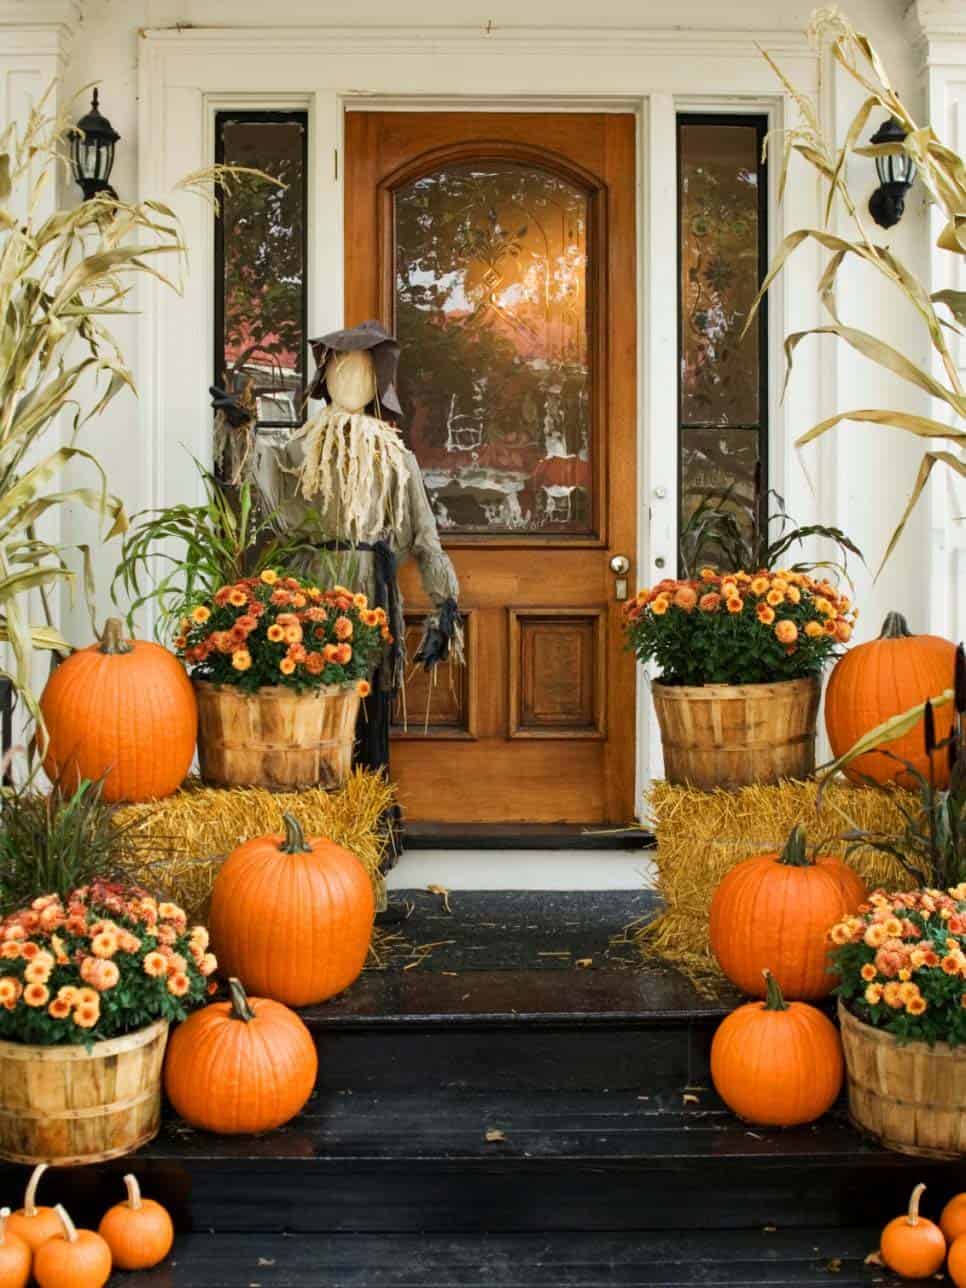
School is starting, the whether getting chillier, and days are getting darker which also means fall is near. What better way to be seasonal than to decorate your home? Here are 5 ways to decorate:
Painting doesn’t always mean you have to paint detailed Da Vinci style art – it can just be a fun hobby and may not be as hard as you think. In this DIY tutorial posted by Instagram page @dailyart, they show you a simple tutorial to paint this beautiful work of art:

All you need are:
Then follow the instructions below:
FOR MORE DIY PROJECTS, CHECK OUT OUR PAGE HERE!
During quarantine, a good activity would be to do some Spring cleaning – which also includes emptying out your closet space. However, some of us aren’t blessed with a huge closet space and have too many items we still want to keep.
#1: A simple method would be to take a pop can tab, put it over a hanger, and hook another hanger onto it. That way you can hang multiple items in the space of one! Check out a tutorial clip here:
#2: Another simple hack is to get skinny velvet hangers instead of plastic ones and this trick can actually cut down your closet space by half! Plus, velvet hangers help your clothes stay on where as your clothes are likely to slip off when using plastic hangers. You can get these hangers on Amazon.

For more life hacks, check out our website here!
Whether you are single or not, Valentine DIYs are always fun to make! Here are some simple DIYs:

Melted crayon art is super cheap but it looks totally cool on your wall. It is a great way to spice up your room and make it more colourful and vibrant. Everyone needs to try this at least once, in their lifetime!
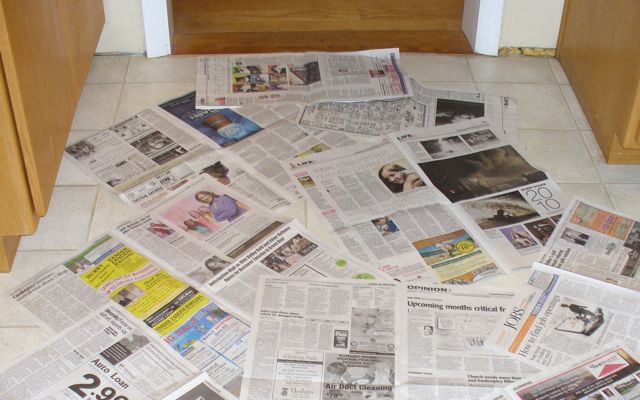
Materials: A canvas, blow dryer, packs of crayons, newspaper, hot glue gun
Steps:
2. Sort out the crayons by colour and place them in the order you want it to be. Once you’ve settled with the order you like, hot glue the back of the crayon, and firmly place them on the top of your canvas. 
3. OPTIONAL – If you want a silhouette or an image on your canvas, print it, cut the shape out, glue it onto your canvas. Then cut out another piece of paper (big enough to cover your silhouette, place it above your image, and carefully tape the sides. this way, the melted crayons won’t splatter onto your image. Tip: Put extra tape when you’re taping your cover because sometimes the melted crayons would slip inside your tape. 
4. Now start blow drying your crayons. It can get very messy so it is suggested you wear ragged clothes when doing this DIY. It is also recommended that you cover your blow dryer as well as the crayons can make your blow dryer colourful too. Also, make sure you point your blow dryer downwards so that the crayon would melt straight downwards. Unless you want the crayons to melt diagonally, then point your blow dryer to the direction you want your crayons to melt. 
5. Let your wax painting dry while you clean up the mess. If you taped a piece of paper to cover your silhouette earlier, carefully uncover the silhouette by ripping the tape off.
6. Now that you’re done, you can display it or wrap it up as a gift!
Brandy Melville hangers are so easy to make and are honestly one the DIYs I’ve been most satisfied with. They are not only cute and require materials that are already in your house, but they also prevent clothes from falling off the hangers, and they don’t make the squeaky metal sound when you move it on the rack!
Materials: Old hangers, glue, an old tshirt.
*One t-shirt can approximately make 7 hangers
Steps:
1. Cut strips of your t-shirt that are about an inch wide. Then cut the sides of the strip so now the cloth strip is only one layer thick instead of two layers.
2. Put some glue on the tip of the cloth and start wrapping your cloth around the hanger. You can start anywhere on the hanger. When you’re done wrapping the strip, glue the tip of the end of the strip. Get another strip of cloth and continue to wrap until you’ve wrapped the entire hanger. 
3. Now that your hanger is fully cloth wrapped, get a leftover piece of cloth and finish off by tying a bow tie on the neck of the hanger. 
Now you’re all done!
Comment: What type of clothes do you hang on your hangers? I put silky material clothes as well as dresses!
Also, check out www.straphie.wordpress.com for more DIY, CELEB NEWS, AND FASHION TIPS!
Welcome to the first blog post of DIY Saturday!

Looking for a way to jazz up your boring house keys? Well, instead of going to get a design painted on, you can do it yourself! Here’s how you can paint your keys:
Materials:
-Nail Polish
-Keys
Steps:
1: Grab your favourite nail polish, and a set of keys you’d like to paint.
2. Paint one side of your keys. Let it dry for about 4 minutes (it depends on how fast your nail polish dries). You can choose to paint the full key or just the top half.
3. Paint the other side.
Suggestions:
You can add polka dots, stripes, hearts, or using colour block to spice up your keys! Check out this Youtube video to see a DIY example!


